
We as a family has lock ourselves down since around end of Feb or early March. We haven’t left the house unless it’s absolutely necessary, so the wife decided that she wanted to live-stream the game she’s playing anyway. Here’s some tips and tricks to up your live streaming game on the cheap.
1. Software
OBS, obvi! Powerful, but it’s also power hog. But free. It is not well optimized on Mac, but it's not like we're swimming with options here. On Windows you can get a certain GPU that’ll make OBS run better on it, but that’s neither here nor there.
2. Capture Card
To stream iOS game, you can actually just use a lightning cable, open QuickTime, select iPhone as source. Then use Loopback to capture the sound. On OBS, add window capture, and add the loopback as another audio source.
iShowU Audio Capture is the free alternative to Loopback, but it’s getting the whole desktop audio, if your computer dings for new messages or email, your audience will hear it too.
However, with just lightning cable, the stream lags. I think OBS just not fast enough to down scale the large iPhone screen to upload in real time. After 3 days of streaming with lightning cable, we sprung for Elgato HD60s+ (and the HDMI dongle). Completely addressed the lag complaints.
3. Stream Deck
A very simple DIY version. Super cheap, like I just need to spend $2 for the Pro Micro. I also print the re-legend-able key caps. This is my breather project while I'm building and fixing Whey. Simple, easy, just follow the guide as is. Use the exact same pins and sketch.
A couple of snags if you use it on a Mac, F14 and F15 were predefined to set brightness. And for some reason F21 and F22 doesn't trigger when I try it. So just go to Settings > Keyboard > Shortcuts > Display and unticks. Then set the shortcuts on OBS.
But I feel like I can improve things here. I have some ideas that I need to test first.
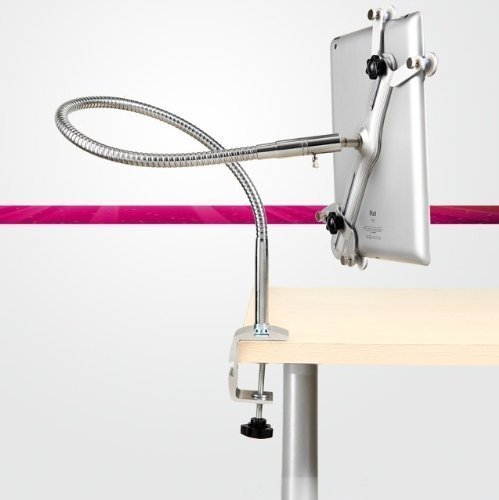
4. Key Light
Simple project that can be done in under an hour for under $10. I just use a cardboard from Coca-Cola, don't even need to cut it, other than making a few holes for mounting and wires. And I just use an old and weak wire iPad stand clamp (something like this, but much shittier -- I bought it for like $5).
5. Green Screen
I actually just use green craft paper, kinda surprised how well it works. Mine is far messier that the one on the video. For something that cost under $2, I'm very happy with the result. Check out the hero image up top, that's the scene for Among Us, bottom left is the webcam chroma-keyed, and top right is Spotify, which brings us to my next point.
6. Spotify
A simple and beautiful little widget to show what song is currently playing on your stream. You can't use Spotify on Facebook (tested it), maybe you can get away with it on a less popular streaming service, maybe Twitch, possibly YouTube. It's just so nice to have. People stop asking what song is this. Accepting song request is a great way to start interacting with your audience.
7. Bonus
Here's what you should never do: Don't use HTML/CSS for animation. I don't know how to make animated video things, but I know HTML / CSS like the back of my hand. So, why not just make HTML animation, and add a Web Source on OBS, right?!
Nope. When we tried that, after streaming for a couple of hours the second-highest-spec 2019 16" MacBook Pro crash. The whole thing crashed. After the second time, I left activity monitor on, turns out OBS were using like 300+GB of RAM.
Maybe you can get away with it for something simple like a lower third that you turn on and off (remember to check the release source or something along that line on the Web Source properties). From there on, I've set it the "right" way, the way OBS is designed for. Scrolling text is Text Source. Simplified a lot of things.
That's it. After having done all of this, in terms of technology, you're already on par with full time streamers. The rests are on your contents and personality. gl hf.