Posts filed under General

The only change is on step 4, mainly because homebrew has and odd path to store packages for M series Macs. I also added pinentry-touchid for better experience. I'll update the original post so you (well, future me as well) don't need to refer to multiple posts when configuring pass on your brand new Mac. Let's further break down the step;
First is the native BrowserPass
- Download the latest release of BrowserPass -- select the darwin-arm64 version for Arm Mac.
- Extract and jump into the folder
make BIN=browserpass-darwin-arm64 PREFIX=/usr/local configuresudo make BIN=browserpass-darwin-arm64 PREFIX=/usr/local installsudo make BIN=browserpass-darwin-arm64 PREFIX=/usr/local hosts-firefoxvi .password-store/.browserpass.json and put in
{
  "gpgPath": "/opt/homebrew/bin/gpg"
}
Next is the pinentry
brew install pinentry-macbrew tap jorgelbg/tapbrew install pinentry-touchid/opt/homebrew/bin/pinentry-touchid -fixvi ~/.gnupg/gpg-agent.conf and enter pinentry-program /opt/homebrew/bin/pinentry-touchidgpg-connect-agent reloadagent /bye or gpgconf --kill gpg-agentdefaults write org.gpgtools.common DisableKeychain -bool yes- And finally to test it:
pass show github-token
You'll need to enter the passphrase once, then next occasion will just need Touch ID to unlock the passwords.
ChatGPT is an advanced language model developed by OpenAI that can generate human-like text. It has been trained on huge datasets of internet texts, making it a great tool for programmers.
One of the most impressive features of ChatGPT is the ability to complete code snippets. This feature allows programmers to just provide a partial code example and ChatGPT will generate the rest of the code for them, saving a lot of time and effort. This is especially useful when working on complex projects where finding specific sections of code can be difficult and time consuming. Another great feature of ChatGPT for programmers is the ability to create documents. By providing code snippets, ChatGPT can generate detailed descriptions of your code, including comments and functional descriptions. This is very useful for developers working in teams. It helps make sure everyone is on the same page with regards to the codebase.
Additionally, you can use ChatGPT to generate code samples and tutorials. This is a great resource for novice programmers just starting to learn a new programming language or framework. ChatGPT can generate code examples that are easy to understand and follow, helping make the learning process faster and more efficient.
Overall, ChatGPT is a powerful tool that programmers of all skill levels can benefit from. The ability to complete code snippets, generate documentation, and create code examples and tutorials make it an essential tool for anyone working in the software development field.
Ultimately, for me, ChatGPT is basically a free assistant for menial things. Like looking for simple codes that I'd need to scroll through StackOverflow answers from 5-10 years ago. For example, something like "make a function in javascript to convert date object to ISO string." All the way up to "make a modern login screen in react native with a button that logs the input." Friggin awesome.
Bonus: Here's a link to a lot of ChatGPT prompts.

As we near the end of the year, it's a natural time to reflect on the past and think about the future. This year has been a whirlwind for me, especially with the release of Yukbid earlier this year. I've been so focused on development and improving the user experience that I haven't had much time to write blogs.
However, that doesn't mean I haven't been writing at all. This blog was supposed to be my brain dumping ground, but as the development logs became more proprietary, I realized that I needed a way to document my thoughts and feelings that was just for me. That's when I started journaling. In fact, I've found that journaling has been a great way for me to reflect on my thoughts and experiences during the development process.
Journaling has been a wonderful way for me to process my thoughts and emotions as I work on Yukbid. It's a private and personal space where I can reflect on my successes and challenges, and think about what I want to achieve in the future.
Looking back on the past year, I'm proud of all that I've accomplished with my app. It's come a long way since its initial release, and I'm excited to see where it goes in the future. As I look ahead to the new year, I have big plans for my app and my business. I'm excited to see what the future holds, and I'm committed to continuing my journaling practice to help me stay focused and motivated.
If you're someone who has struggled to find the time or motivation to write blogs, I encourage you to try journaling instead. It's a great way to reflect on your experiences and think about your goals and aspirations. Who knows, it might just become a habit that helps you stay on track and achieve your dreams.
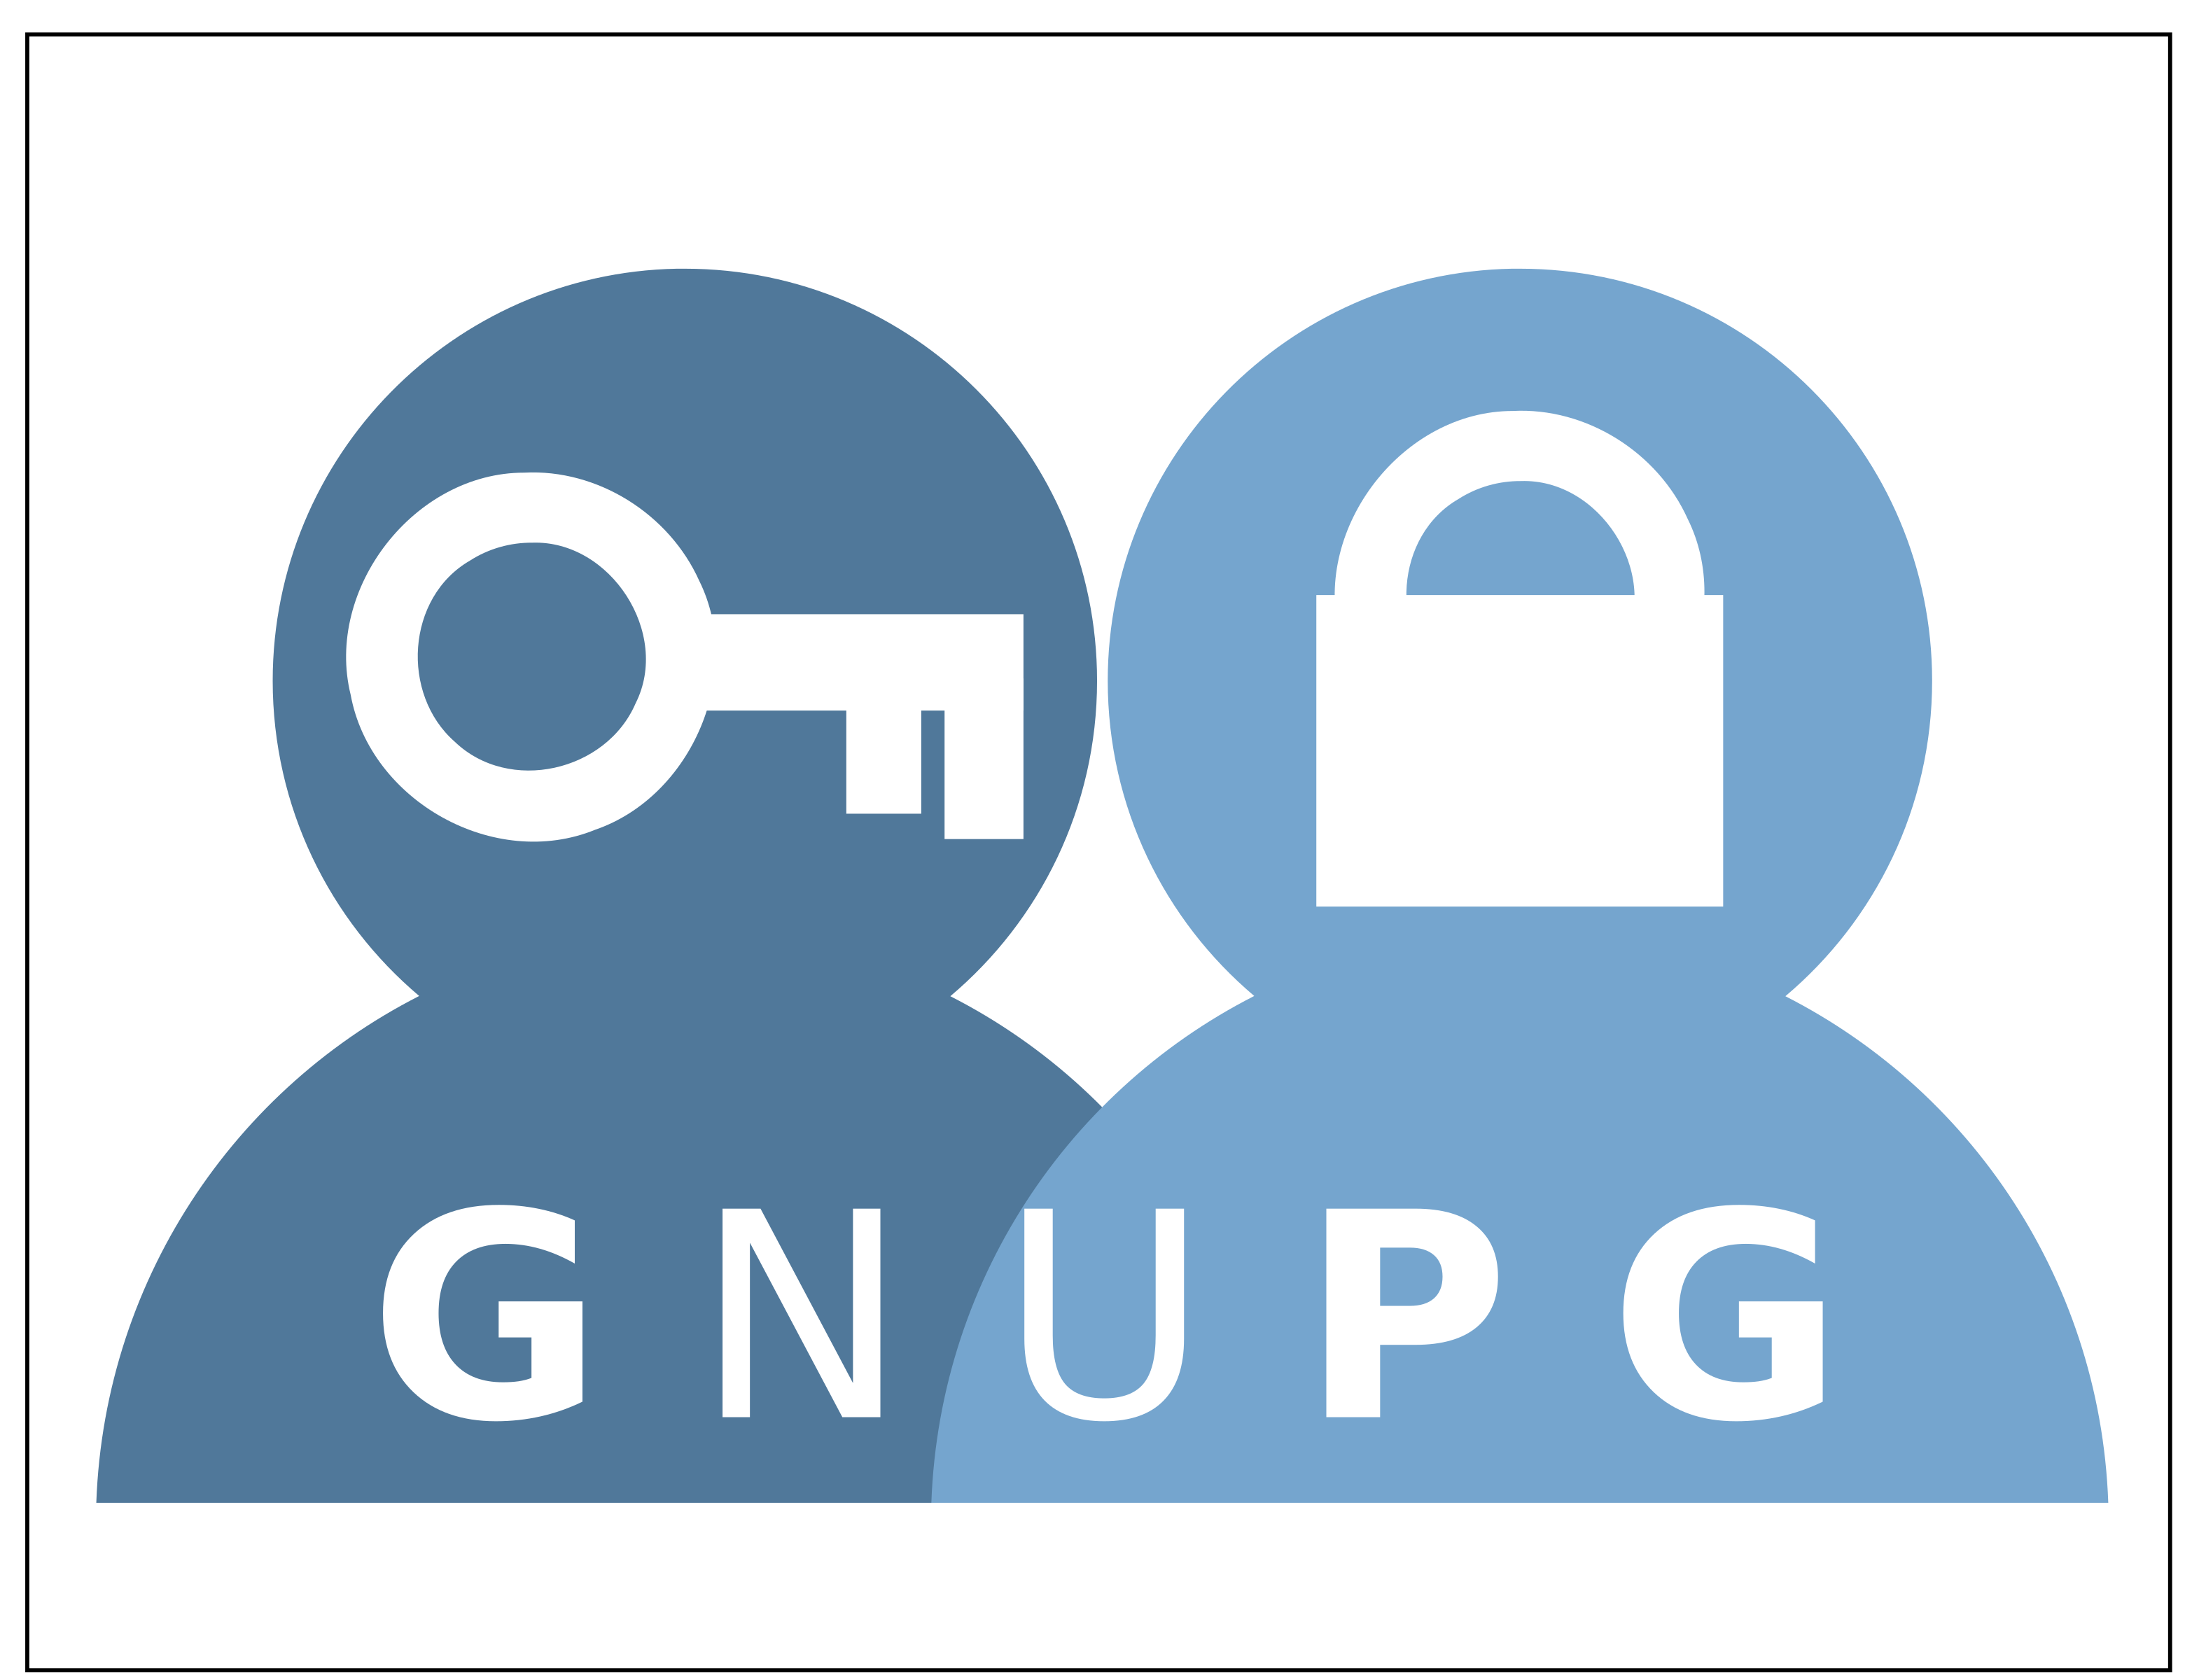
It's almost two years since I posted my guide to PasswordStore, I still refer to that post from time to time. If you follow that guide, you'll hit this problem soon enough. Can't encrypt new password because the public key is expired. Well, here's how.
$ gpg --list-keys
$ gpg --edit-key  <fingerprint>
Use the expire command to set a new expire date:
gpg> expire
When prompted type 2y or however long you want the key to last for.
Select all the subkeys (the primary key, which we just set the expires date for, is key 0):
gpg> key 1
gpg> key 2
gpg> expire
A star will appear before all selected keys.
Since the key has changed we now need to trust it, otherwise we get the error "There is no assurance this key belongs to the named user" when using they key:
gpg> trust
Then we just need to export it again and pass it around to another computer or mobile apps.
$ gpg --list-keys
$ gpg --export-secret-keys --armor <fingerprint> > privkey.asc
$ gpg --export --armor <fingerprint> > pubkey.asc
So, I recently learn about IPFS, this thing is interesting. The video above is a good primer on IPFS, and feel free to click through and read more about it, but the way I like to think about it is, it's like public Dropbox meets BitTorrent meets blockchain. Of course there are other interesting implementations for it like OrbitDB.
But, I'm just going to use it as my image host replacement. Imgur is sometimes blocked (depends on the ISP) in Indonesia, Imgbb is just meh. So we'll see how IPFS fare as public image host.
Sidebar: I'm currently helping out a couple of startups, so personal projects are going to be shelved, which means this blog is going to see a lot less posts. Even though I have a couple of posts lined up, I still need a bit of time to polish it up.

As I write this, I'm waist deep in the custom mechanical keyboard rabbit hole. The space mouse project made me thinking that the ideal input is a trackball. Looking into DIY trackball led me to ergonomics keyboard, guessed what keyboards most of these ergo nerds use? A custom mechanical keyboard.
The word custom is the key here. Mechanical keyboards, technically, are nothing new. They’re just keyboards with Cherry MX mechanical switches. Back in early 00's, Ducky and Topre were considered the endgame keyboard. And not long after that, Jeff Atwood of Stack Overflow partnered with WASD and created the Code Keyboard. Which I considered my endgame keyboard, a well thought out keyboard. Bought it in 2015, liked it, use it whenever I'm home never thought about mechanical keyboard again...
... until now. The word "custom" here has quite a large gamut. Ranging from the very buying each part (think of it like building your own PC — buy motherboard, RAM, CPU, etc. and put it together at home), to design their own PCB and have it fab by jlpcb or oshpark, or 3D print the enclosure and hand solder each pins with wires. Guess where I fall in the ranges there?
Even buying each parts aren't as simple as buying motherboards or case for your PC, no, members of the community design these keyboards, or just a part of a keyboard, then they organized these group buys, where if enough people pre-purchased it, then it can go into a small scale production. It means that these people spent their money and need to wait at least 6-12 months (sometimes even longer) before getting anything in the mail.
On the flip side, if the group buy turns out to be awesome and you missed the group buy, tough luck, you have to pay premium from others who are willing to part with theirs, or hope for another revision of another group buy. Even then, the good ones will sold out within seconds of the launch. Example: Satisfaction75 fiasco. Which is why keyboards youtube videos are more like show and tell rather than reviews. For context: there are people who are willing to buy one of the earliest group buy keyboard for $8000. An $8k keyboard.
This is the most passionate and patience community I've ever come across. They are both elitist and kind / welcoming at the same time. So here I am, printing the case for a Dactyl Manuform Mini while browsing for which key switch and caps I want to use for my next keeb.
Links if you want to dig a little bit deeper:

It goes without saying, 2020 sucked donkey balls! Although we're lucky enough to have traveled quite a bit before, in fact, we left Japan about a few days before they release the Princess Cruise's passengers back in Tokyo. After that the world (well, my world) seems to be on pause. I still have coffee I bought from Japan sitting in my office drawer, haven't return to office since the beginning of Covid. I really missed traveling though, and scuba diving especially. I have bought a new underwater camera that's still in the box.
On the flip side, I've hit my long time New Year's resolution to write more. IIRC the goal was like one post a month started several years ago. This year I've logged at least two posts a month. Build Logs are fun, why didn't I thought of that sooner. Ever since, I started a project with some kind of logging notes. The logging process makes the progress a bit slower, but every single approach / attempts at a problem becomes very concise and planned.
To close out this year, I've decided to add comment section to this blog, some of you has been trying to contact me via youtube comments, I never check those. First I looked at Disqus, see if they're still as terrible as I remembered when I used them on tumblr, and they are. Then I came across utterances, it looks interesting and already has a plugin for Bludit. Going to be implementing it in the next couple of days.
So, so long 2020, let's hope for a better 2021.

We as a family has lock ourselves down since around end of Feb or early March. We haven’t left the house unless it’s absolutely necessary, so the wife decided that she wanted to live-stream the game she’s playing anyway. Here’s some tips and tricks to up your live streaming game on the cheap.
1. Software
OBS, obvi! Powerful, but it’s also power hog. But free. It is not well optimized on Mac, but it's not like we're swimming with options here. On Windows you can get a certain GPU that’ll make OBS run better on it, but that’s neither here nor there.
2. Capture Card
To stream iOS game, you can actually just use a lightning cable, open QuickTime, select iPhone as source. Then use Loopback to capture the sound. On OBS, add window capture, and add the loopback as another audio source.
iShowU Audio Capture is the free alternative to Loopback, but it’s getting the whole desktop audio, if your computer dings for new messages or email, your audience will hear it too.
However, with just lightning cable, the stream lags. I think OBS just not fast enough to down scale the large iPhone screen to upload in real time. After 3 days of streaming with lightning cable, we sprung for Elgato HD60s+ (and the HDMI dongle). Completely addressed the lag complaints.
3. Stream Deck
A very simple DIY version. Super cheap, like I just need to spend $2 for the Pro Micro. I also print the re-legend-able key caps. This is my breather project while I'm building and fixing Whey. Simple, easy, just follow the guide as is. Use the exact same pins and sketch.
A couple of snags if you use it on a Mac, F14 and F15 were predefined to set brightness. And for some reason F21 and F22 doesn't trigger when I try it. So just go to Settings > Keyboard > Shortcuts > Display and unticks. Then set the shortcuts on OBS.
But I feel like I can improve things here. I have some ideas that I need to test first.
4. Key Light
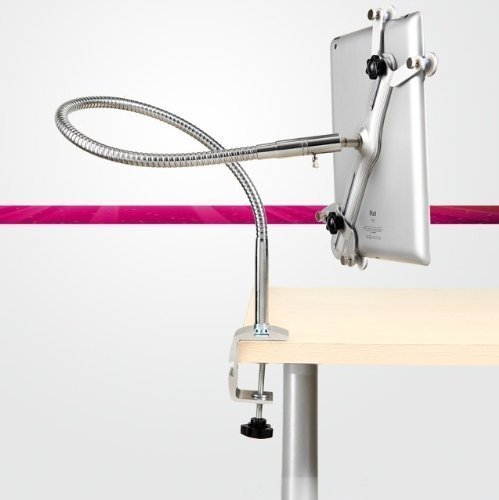
Simple project that can be done in under an hour for under $10. I just use a cardboard from Coca-Cola, don't even need to cut it, other than making a few holes for mounting and wires. And I just use an old and weak wire iPad stand clamp (something like this, but much shittier -- I bought it for like $5).
5. Green Screen
I actually just use green craft paper, kinda surprised how well it works. Mine is far messier that the one on the video. For something that cost under $2, I'm very happy with the result. Check out the hero image up top, that's the scene for Among Us, bottom left is the webcam chroma-keyed, and top right is Spotify, which brings us to my next point.
6. Spotify
A simple and beautiful little widget to show what song is currently playing on your stream. You can't use Spotify on Facebook (tested it), maybe you can get away with it on a less popular streaming service, maybe Twitch, possibly YouTube. It's just so nice to have. People stop asking what song is this. Accepting song request is a great way to start interacting with your audience.
7. Bonus
Here's what you should never do: Don't use HTML/CSS for animation. I don't know how to make animated video things, but I know HTML / CSS like the back of my hand. So, why not just make HTML animation, and add a Web Source on OBS, right?!
Nope. When we tried that, after streaming for a couple of hours the second-highest-spec 2019 16" MacBook Pro crash. The whole thing crashed. After the second time, I left activity monitor on, turns out OBS were using like 300+GB of RAM.
Maybe you can get away with it for something simple like a lower third that you turn on and off (remember to check the release source or something along that line on the Web Source properties). From there on, I've set it the "right" way, the way OBS is designed for. Scrolling text is Text Source. Simplified a lot of things.
That's it. After having done all of this, in terms of technology, you're already on par with full time streamers. The rests are on your contents and personality. gl hf.