I am forced to take a break from Project Katara. Pictured above, this blog suddenly broken for whatever reason. As I finished writing the next build log, I want to post it, I just notice that it’s broken. Not DNS settings, I’ve tried other paths, DNS are fine, FTP is still up and running. Tried re-downloading Bludit and overwrite the core, still messed up.
I have backups both on server and behind Bludit admin, but they’re old. The ones on the server stopped backing up because my host disabled php’s zip during one of their maintenances. I never notice this until today. I’ll fix this after I fixed the blog.
I noticed that I can upload a clean Bludit and have a new installation up and running without issues. So I just copy everything from bl-content over. Broken again but in a different way, /admin led to 404. So something inside the contents are causing this. Let’s do over, go slower.
Clean install, move my custom plugin and theme, all good. Next just copy everything from /bl-contents/pages and /bl-contents/databases (except for the plugins database). It works. And since all of my pictures I hosted it on imgbb, I’m done. All good. The broken copy is still available on /blog-broken, but I don’t think I care enough to do a post-mortem, it’s there if and when I feel like doing something about it.
Everything is sorted within 15 minutes. Can’t even imagine what I need to do if something like this happen to a WordPress blog, which is an argument for paying to be hosted in WordPress.com, or you know, use Bludit.
I need (and want) to continue working on Project Katara.
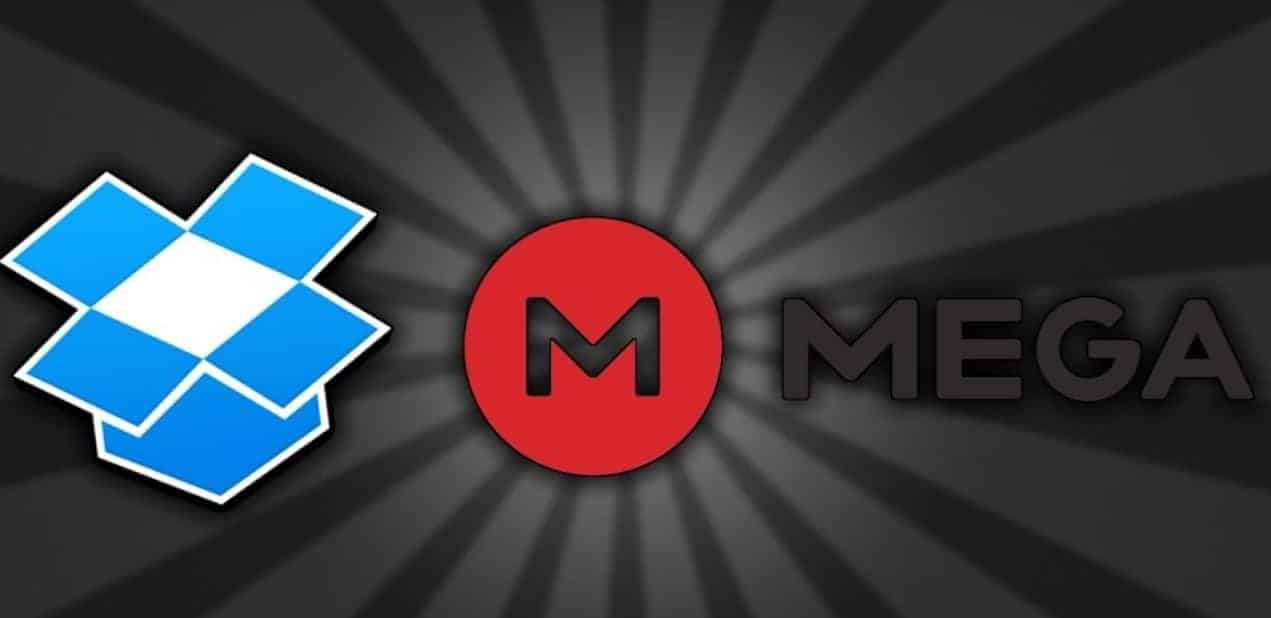
I recently hacked my Nintend Switch, there I tested and found out that MEGA is the fastest way I can grab large files down to my computer. And it is a totally viable replacement to Dropbox. Apparently last year Dropbox has limit the basic account to 3 devices , which I never noticed until recently.
Because for a long time, I only need 3 devices. iPhone, iPad, and my 2015 MacBook Pro. A few months ago I replaced my (very old) iPad mini to an Android device. Dropbox limitation has been annoying but I didn’t find a need to look for replacement. Now, I just got the new 2019 16” MacBook Pro, the limitation has become a deal breaker. I don’t need a large space. Only used ~5 GB out of the 11 GB I’ve obtain out of various challenges / easter egg many many moons ago.
Moving into MEGA has been painless, I just create a folder called dropbox, and drop everything there. ez pz. On most devices I just sync this particular folder. It took awhile because I have like thousands of files, after everything is synced, it is seamless. Just launch a red M app instead of the blue box, everything else remain the same, and to some extend, MEGA is better as it doesn’t try to do anything else other than a synced folder, the way Dropbox used to be.
Tom is totally on point in the video. Web 2.0 days is totally the Internet’s utopia. “It was going to be the Age of Mashups: take data and do interesting things with it.” If we’re still in the Web 2.0 days, we won’t have these many messaging services, and even if we do, there will be an app that does them all like Trillian (member Trillian? I member…).
A few weeks ago, I built and released WhatsDP. A simple tool that’ll update my contacts with the display pictures in WhatsApp, I want to see pictures instead of initials when people calls or in iMessage. This would be something trivial in the Web 2.0 days.
It started as something I wanted to do, so I look for ways / existing apps that’ll do it, closest one is Vignette. Not only that it doesn’t support WhatsApp, I have to go through every single one of my contacts and add their Instagram or Facebook account. Nope, that’s a non-starter.
And then, as a developer myself, it turns into an app idea. However, after further research, I’ve found that there’s no kosher way of pulling that info, even with WhatsApp Business API. WhatsApp Business API is only good for sending OTP and phone tree. And turns out, there are very little services that have both phone number and display pictures, think Gravatar but with phone number instead of email. We no longer live in the utopia, it'll never be widely accepted in todays world.
So here we are, I cobbled together some JavaScript to scrape some images off WhatsApp web. It works, for now, and at the very least, for me. Even if I’ll be the only user that it ever has, my contacts look so nice now. I got what I wanted at the beginning of this process.
Just because something is going to break in the end, doesn’t mean that it can’t have an effect that lasts into the future. Joy. Wonder. Laughter. Hope. The world can be better because of what you built in the past. And while I do think that the long term goal of humanity should be to find a way to defeat entropy, I’m pretty sure no-one knows where to start on that problem just yet.
So until then: try and make sure the things you’re working on push us in the right direction. They don’t have to be big projects, they might just have an audience of one. And even if they don’t last, try to make sure they leave something positive behind.
The second brain child of Appify. It started as an app idea, turns out it was impossible to do it right (as in without some weird hacks — how do you even scan a QR code on the same phone?!). The cleanest way was with a browser extension.
You need to export all your contacts to vCards.
Run the extension (like the video)
Delete all your current contacts, and add the one you just downloaded from this extension — this is the scariest steps, but don’t worry… you already have a backup of your existing contacts. If you don’t delete first, you’ll end up with duplicates.
If for some games you just can find the NSZ files instead of the regular NSP. Or you just want to download a smaller file, it’s super easy to convert it. I make this post because there are not a lot of resources online for this. My research always landed to a shoddy Windows only tool. So here we go,
Open terminal.
Install the NSZ tool by running sudo pip3 install nsz
On the Switch, launch emuMMC, and then from the homebrew tools, launch Lockpick. Once that’s done, you should have the prod.keys file in [SD card]/switch/
Shut down, and pop the SD card to computer. Copy the prod.keys file to ~/.switch/
Finished. To extract the the .nsz files just run nsz -D filename.nsz
Once you’ve got into Hekate (part 1), the hard part is done. To get to the homebrew menu you just need to open the “Album” on your Switch. To backup your own game just launch the NXDumpTool, pick NSP Dump, and you’re done. The file will be in /switch/NXDumpTool/NSP. This is a huge tip in finding a backup games that has fallen out of the back of the truck right on your lap 😉
Installing the backup is also as easy. Just launch Goldleaf, find the .nsp file, click install on SD card, and you’re done.
Classic Games
Again, the hard part is done. Just download retroarch, scroll down for switch. Follow the instruction video. Download some roms, and enjoy. Above is me launching Chrono Trigger, going to replay it for, I don’t know, the umpteenth time.
Bonus: Backup emuMMC Partition (aka Upgrading to a larger SD Card)
It’s a good idea to backup the emuMMC partition from time to time. It’ll also work if you want to upgrade to a larger partition. Some NSP might ruin your install. In my case it’s the SNES Online thingy. So here we go;
Let’s call spade a spade. We all know why we hack the Nintendo Switch. Those developers creating the custom firmwares know it too, despite they love to say “we don’t support pirates,” guess who’re donating and supporting the continuation of their fights against Nintendo?
Introduction
A long time ago, my younger self — I may have told this story back on my tumblr, I had this pretty big budget for a new PC. Back then I played a lot of games, even with that in mind, I opted for a graphics card that is more hackable and easier to overclock than the top of the line GPU that’s twice the price. Maybe that’s my frugal self talking, but hell, I managed to push my GPU benchmark numbers to about 80% of the top of the line GPU. That is super satisfying, way more than playing games.
That is when I realize I’m much more of a hacker / tinkerer than a gamer. Now my Nintendo Switch has been collecting dust for a bit. While I enjoy some games on it, I just don’t have the time to complete games like I used to. Like the only game I’ve completed on my Switch was South Park: The Fractured But Whole (amazing game btw). Anyway, I feel like I didn’t get much enjoyment out of my Switch yet. So I start looking into hacking the Switch. In this post I’ll share the results of my research and what I need to do to get mine up and running. Key point is that you do need an unpatched (aka: old) Switch.
YouTube has make these things super easy. Although it’s still not straightforward. No plug and play hacks like we have it on Nintendo DS. And it is slow, like allocate a whole afternoon to do this. You’ll need at least 90 minutes to do this without needing to troubleshoot. About 30 mins to backup your NAND, another 30 mins to create emuMMC, and about 30 mins to configure and test things. That is if you have all the hardwares and downloaded everything including a “backed-up” game.
Custom Firmware (CFW)
First, watch the video above by sthetix, a fellow Indonesian. Follow the instructions as is, up to when you need to create emuMMC. But before that, the hardware choices, I went with the Android route. I print my own jig (thingiverse), and if you look for reviews, there are no good options. Except maybe the DragonInjector purely for the form factor, I plan on getting it if I keep playing the Switch. Android is the cheapest option too, about $1 for an USB-C OTG thing, and maybe another $1 for the jig if you don’t have access to a 3D printer. Even the shoddiest RCM injector cost at least $10.
Another great option is using the fusee web launcher on Chrome (either the browser or OS, though it doesn’t work on Windows). Switch is the cheapest and easiest possible mod I’ve ever encountered. Once you’ve got into Hekate, you’re practically done. Everything else is preparing the SD Cards, making backups, partitions, etc. Just follow the youtube video above, not hard, but time consuming.
Next, what I have to do differently from the video: I need to partition my SD Card, and choose SD Partition when creating the emuMMC. When I picked the SD File, I can’t boot into the CFW. It just stuck with a black screen until I forced reboot the Switch (by pressing and holding the power buttons for 12-15 seconds). Now to partition the SD Card, I have to use command line;
XX.XX is the remaining space you have on your SD card. I had to do the partition with FAT32 for some reason. It spits out an error if I make it exFAT right off the bat. Not a big deal, I just re-format the HOMEBREW partition to exFAT (you’ll need exFAT for this, most games are about 5-6GB).
Once that is done, when launching the CFW, if you got this following error:
A fatal error occurred when running Atmosphére.
Title ID: 010041544d530000
Error Desc: std::abort() called (0xffe)
I believe this is caused by using exFAT, and Atmosphere can’t open file. The fix is pop the SD card back to your computer and run sudo chflags -R arch on all directories except for the official Nintendo directory.
And I personally do not have the autoRCM enabled. Just some online speculations, but it’s possible that Nintendo might be able to see that that the boot loader has been tinkered and may ban your device. That and it boots up to a black screen by default freaks me out a bit, especially since I don’t always have my Android phone with me.
This is the first brainchild of Appify. I plan to have that as a house to my app ideas. The name actually was for a different venture that has failed (if it’s not obvious enough from the name, it was some kind of an app generator). But I have the domain and I like the name, and it’s a good name to house my apps. But I digress… introducing: pure javascript online QR Code scanner and generator.
The generator is easy and boring. Not much to say on that end, I just throw that in as “might as well add it while I’m working on this QR thing.”
Now the scanner is much more interesting. I’m know there are plenty of native apps for any native platforms, iOS, Android, Mac, Windows, and even Linux. But I can’t find any for online QR Code scanner. Heck, it was easier to find an online vector editor that works reasonably well than a QR Code scanner.
And recently I’ve just made a prototype app for a cinema ticketing system that needs to scan QR Code so the audience can redeem their tickets. So this is more of a repackaging, because that prototype was made as a web app to speed things up — instant multi-platforms. The only part that I thought that needed a native implementation was a QR Code scanner.
However, after further research, I thought wrong. Thanks to jsQR, everything was so easy and simple and works on most modern browsers including the ones on smartphones. Definitely good enough for a prototype and I think it’s perfect for web only implementation.
![[Nintendo Switch] Convert NSZ to NSP](https://i.ibb.co/D8HKxfq/image.png)